Showing posts with label border punches. Show all posts

Saturday, June 29, 2013

Choir retreat


A quick layout I made today based on Bo Bunny sketch. I had few sheets of old AdLib collection and added the music note sheet from Love Letters. I can't decided what I think about it. It turned so ... not me. But that's ok. I am going to embrace it and add it happily to Lila's album. (That part will have to wait till we move and unpack since the scrapbooks are packed already)

Supplies: patterned paper, stickers (Bo Bunny), cardstock (Bazzill), thickers (American Crafts), border punch (Fiskars), circle and speech bubble squeeze punches (Fiskars)


Tuesday, January 1, 2013

Scrap It Girl January challenge - Bling, Glitter, Sparkles or anything SHINY


Welcome 2013! New plans, new hopes, new beginnings, new challenges!

At Scrap It Girl we open the new year with sparkles! This month challenge is to use bling, glitter, sparkles or anything shiny. How fun is that?? 
When I started to think about the challenge I was in the midst's of working on several card sets. It happened that I was using the Glitter Cardstock Matstack by DCVW. It has a beautiful, shiny and sparkly texture but there is no glitter that dulls your blade and gets into everything. Perfect!

I started with butterfly cards using the negative diecut. I was inspired by this Pinterest find. I designed the squares with the butterfly and pierced border in Silhouette Studio and cut them all together. The butterfly square is mounted on top of the glittery square using dimensional adhesive. I finished some of the cards with stamped sentiment and some with a glittery button.

Supplies: cardstock (glitter - DCVW, white - American Crafts), Silhouette Cameo, stamp (See-D's), buttons (American Crafts)


After making several of this cards sets I was left with lots of butterflies and long glittery scraps.  I couldn't let them go to waste so here is design number two. One simple pennant with white butterfly.

Supplies:  cardstock (glitter - DCVW, white - American Crafts), Silhouette Cameo, stamp (Close To My Heart), jewels (Recollections, Marcella by K)

I stamped the sentiment under the pennant and added one jewel in coordinating color.

Here is another set - here I just added glittery punched border. I made this card set for a friend that just had a baby. The papers are from an old Heidi Grace collection. I used "Cut and Print" option on the Silhouette to cut the circles with the sentiment.
 

Supplies: cardstock (glitter - DCVW, white - Recollections), patterned paper (Heidi Grace), border punch (Fiskars), hearts (Heidi Grace), Silhouette Cameo

The last set features the iris folding technique. I didn't actually fold the strips. The glittery strips of cardstock are too thick to fold but they have a nice crisp edge and look beautiful without folding. I cut the openings with a craft knife, before I had the Silhouette so you can see they are not perfect. I added just few embellishments. I really like this technique and enjoy doing it. Definitely not your "quick and simple" cards but so worth it in my opinion.

Supplies: cardstock (DCVW), wooden accents (Kaiser Crafts), flowers (Heidi Grace), pearls (Kaiser Crafts), raindots (Cloud 9), jewels (Queen and Co), tickets (unknown)


That's it from me. Stop by the Scrap It Girl website to check what other DT members made for this challenge. Of course we would love you to play along. You have till the end of the month to submit your sparkly creation.

Edited to add: I added the picture of the monthly prize to my left side bar. Lots and lots of sparkly goodness: Color Shine, Fine Glitter, Bling slidders, Gelatos, Glitter letters, Bling Flourishes, Sparkler pins. Yum!
Posted by Picasa

Tuesday, December 25, 2012

Eight white butterflies - just for you


Punched lace borders, linen ribbon, paper flowers with velvet leaves, jewel and pearl flourishes, one shipping tag, a tiny bit of paint and few touche of glitter, eight white butterflies - one fancy card just for you.

Supplies: patterned paper (Basic Grey), cardstock (American Crafts), flowers (Anna Griffin), flourishes (Recollections), pearls (Want 2 Scrap), shipping tag, acrylic paint, glitter (Silhouette America), letter stickers (Recollections), butterfly punch (Martha Stewart), border punch (Fiskars), ribbon (unknown) 

Linking up with "Yotzot me hakavim" challenge brought to you by number "eight"
Posted by Picasa

Wednesday, October 31, 2012

2 Wheel Fun


Today I pulled out what was left from my favorite Little Yellow Bicycle collection "Saturdays" and made a layout based on a sketch from Israeli blog "Sabras Scrap". 

Supplies: patterned paper, clear cut, tags, stickers (Little Yellow Bicycle), border punch (Fiskars), letter stickers (Glitz), smooch ink (Clearsnap)

I used only three pictures and instead of the fourth picture I placed my title. The clear cut swirl under the pictures is colored with red smooch ink. I like how it ties all the elements together.

This is one of those collections that I wasn't sure I will like but it became one of my most favorite!

Friday, October 26, 2012

Third Annual Orange Blog Hop

Welcome to the Third Annual Fiskateers ORANGE Blog Hop!  If you're hopping along, you should have come from Kelly's blog.  (If you are joining us in the middle, go to www.fiskateers.com to start from the beginning.)  Today we are celebrating Fiskars' signature color, ORANGE.  Almost everyone is familiar with Fiskars' famous orange-handled scissors, but Fiskars makes so many other wonderful products for crafting, sewing, gardening, and more.  Each stop along our Hop will feature different Fiskars' products with a big helping of ORANGE!    
My layout today is about my new phone. I am not one of those people who talk to their cars and have names for their possessions, believe me I am not. But my new smart phone (I have Google Nexus) improved my life in so many ways that I never expected, so I decided it deserves a layout. Besides, my phone rocks it's the orange case, so it is only appropriate that it will join us today.

Supplies: patterned paper (Echo Park, American Crafts), thickers (American Crafts), letter stickers (Bella Blvd), corner punch (Fiskars), border punch and tab punch (Fiskars), stickers (American Crafts), twine (unknown)  

I used Fiskars Corner squeeze punch to round the corners of my background paper and the orange grid paper. I wanted to echo the rounded corners of my phone.


After that I grabbed Fiskars Notebook border punch and punched the layers under the photo to make a nice distressed stack mat for my photo. Jenni Bowlin Tab Squeeze punch came in handy for the date label. The orange droid is from the case package. Isn't he cute?


I want to show you how I made the distessed notebook border
1. Tear one edge of the paper.
2. Start punching without pushing the paper all the way into the punch. Continue punching using the image on the punch for the alignment and keeping the paper straight

Now you have a punched border that looks like it was torn from a notebook.


That's it, folks! I am glad you stopped by!

For more information about Fiskars and the Fiskateer program, you can go to http://www.fiskateers.com/join/. Your next stop is Michelle at Scrapbooking 505

Oh, I almost forgot! Fiskars is very generous to prove prizes for this blog hop but I have something for you as well. One lucky winner with receive Fiskars "A Little Bird Told Me" punch, Bazzill Basics Wayfarer 6x6 pad and three handmade yo-yo flowers. To win just leave me a comment. Happy hopping! 


Wednesday, October 10, 2012

10 things

Every month on the tenth my google reader fills up with 10 Things posts. I joined once or twice but such thing requires too much pre-planning from my side. Being a helpless precrastinator I usually give up and just enjoy reading what 10 things other have to share.

But this morning I realized that I do have something to share - 10 cards that I made in the last few days. So here they are:

Card One
I made this card last week for the sketch challenge at my LSS My Paper Playground. Not so local, it's about 40 minutes drive, but I visit them when I take Lila to her ice skating practice on Saturdays. I used the leftovers from the Jenni Bowling September kit. The flowers are made with Lifestyle Crafts dies and colored with Faber-Castell gelatos.


Supplies:  patterned paper (My Mind's Eye), letter stickers (Lily Bee), doily die (My Favorite Things), punch (Fiskars), gelatos (Faber-Castell), tag (Anna Griffin), enamel dots (My Mind's Eye), smooch spritz (Clearsnap) 

Only one of the gelato colors was metallic so I misted the flowers with clear smooch spritz to give them more shine.


Card Two
This and all next cards were made for the challenges from the Fiskateers message board. I was inspired by Fiskateer Shanon to make this card with three matted panels. I decided to leave it without a sentiment and just added a vintage button with some twine.

Supplies: patterned paper (Sassafras Lass), button (vintage), twine (unknown)

Card Three
Simple Halloween card. The embellishments are by K&Company. I like how the pumpkins sit in the grass. I think it was the quickest card I ever made.

Supplies: patterned paper (My Mind's Eye), embellishments (K&Company), border punch (Fiskars)


Card Four
I had this card base with green mat for few months. I planned to use it for another card but it didn't work out. The butterflies were sitting in my "don't know where to put it" bowl. I think Ella wanted to use them on her birthday invitations back in July but changed her mind. I adhered the butterflies to the card and added three groups of Doodlebug jewels and a sentiment sticker. Done!

Supplies: cardstock (Martha Stewart), border punch (Fiskars), butterfly die (Lifestyle Crafts), jewels (Doodlebug), sentiment sticker (Doodlebug)


Card Five
I had so much fun with this one!  The challenge was to make a shaped card and I decided to make a jar. I used the jar printable from here and printed it on a vellum. I than adhered it to the folded card base adding few drops of glue just under the lid and cut along the edge of the shape. I added few Hello Kitty stickers between the card base and the vellum and sealed the open edges of the jar. I used the Scrap Happy Glue for the vellum. It dries completely clear and you can not see it when it dry! It looks like Hello Kitty is sitting in a frosted jar :)

Supplies: stickers (Sanrio), letter stickers (Lily Bee), twine, vellum

I added Lily Bee letter stickers inside the card and a birthday cake sticker.


Card Six
Another fun card! I took a piece of vellum and covered it with torn pieces of washi tape.  I than used the flower dies to cut three flowers. I kept the rest super simple to make sure the flowers are getting the full attention they deserve.
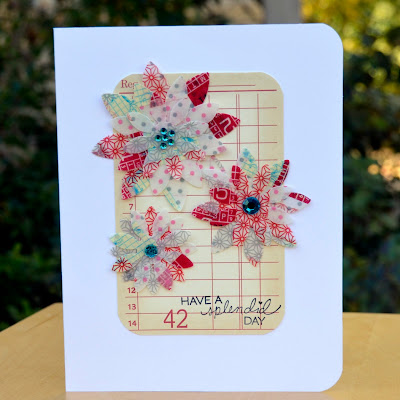
Supplies: journaling card (Jenni Bowlin), corner punch (Fisakrs), dies (Lifestyle Crafts), washi tape (Love My Tapes, Bazzill Basics), stamp (American Crafts), jewels (K&Company)


Cards Seven, Eight, Nine and Ten
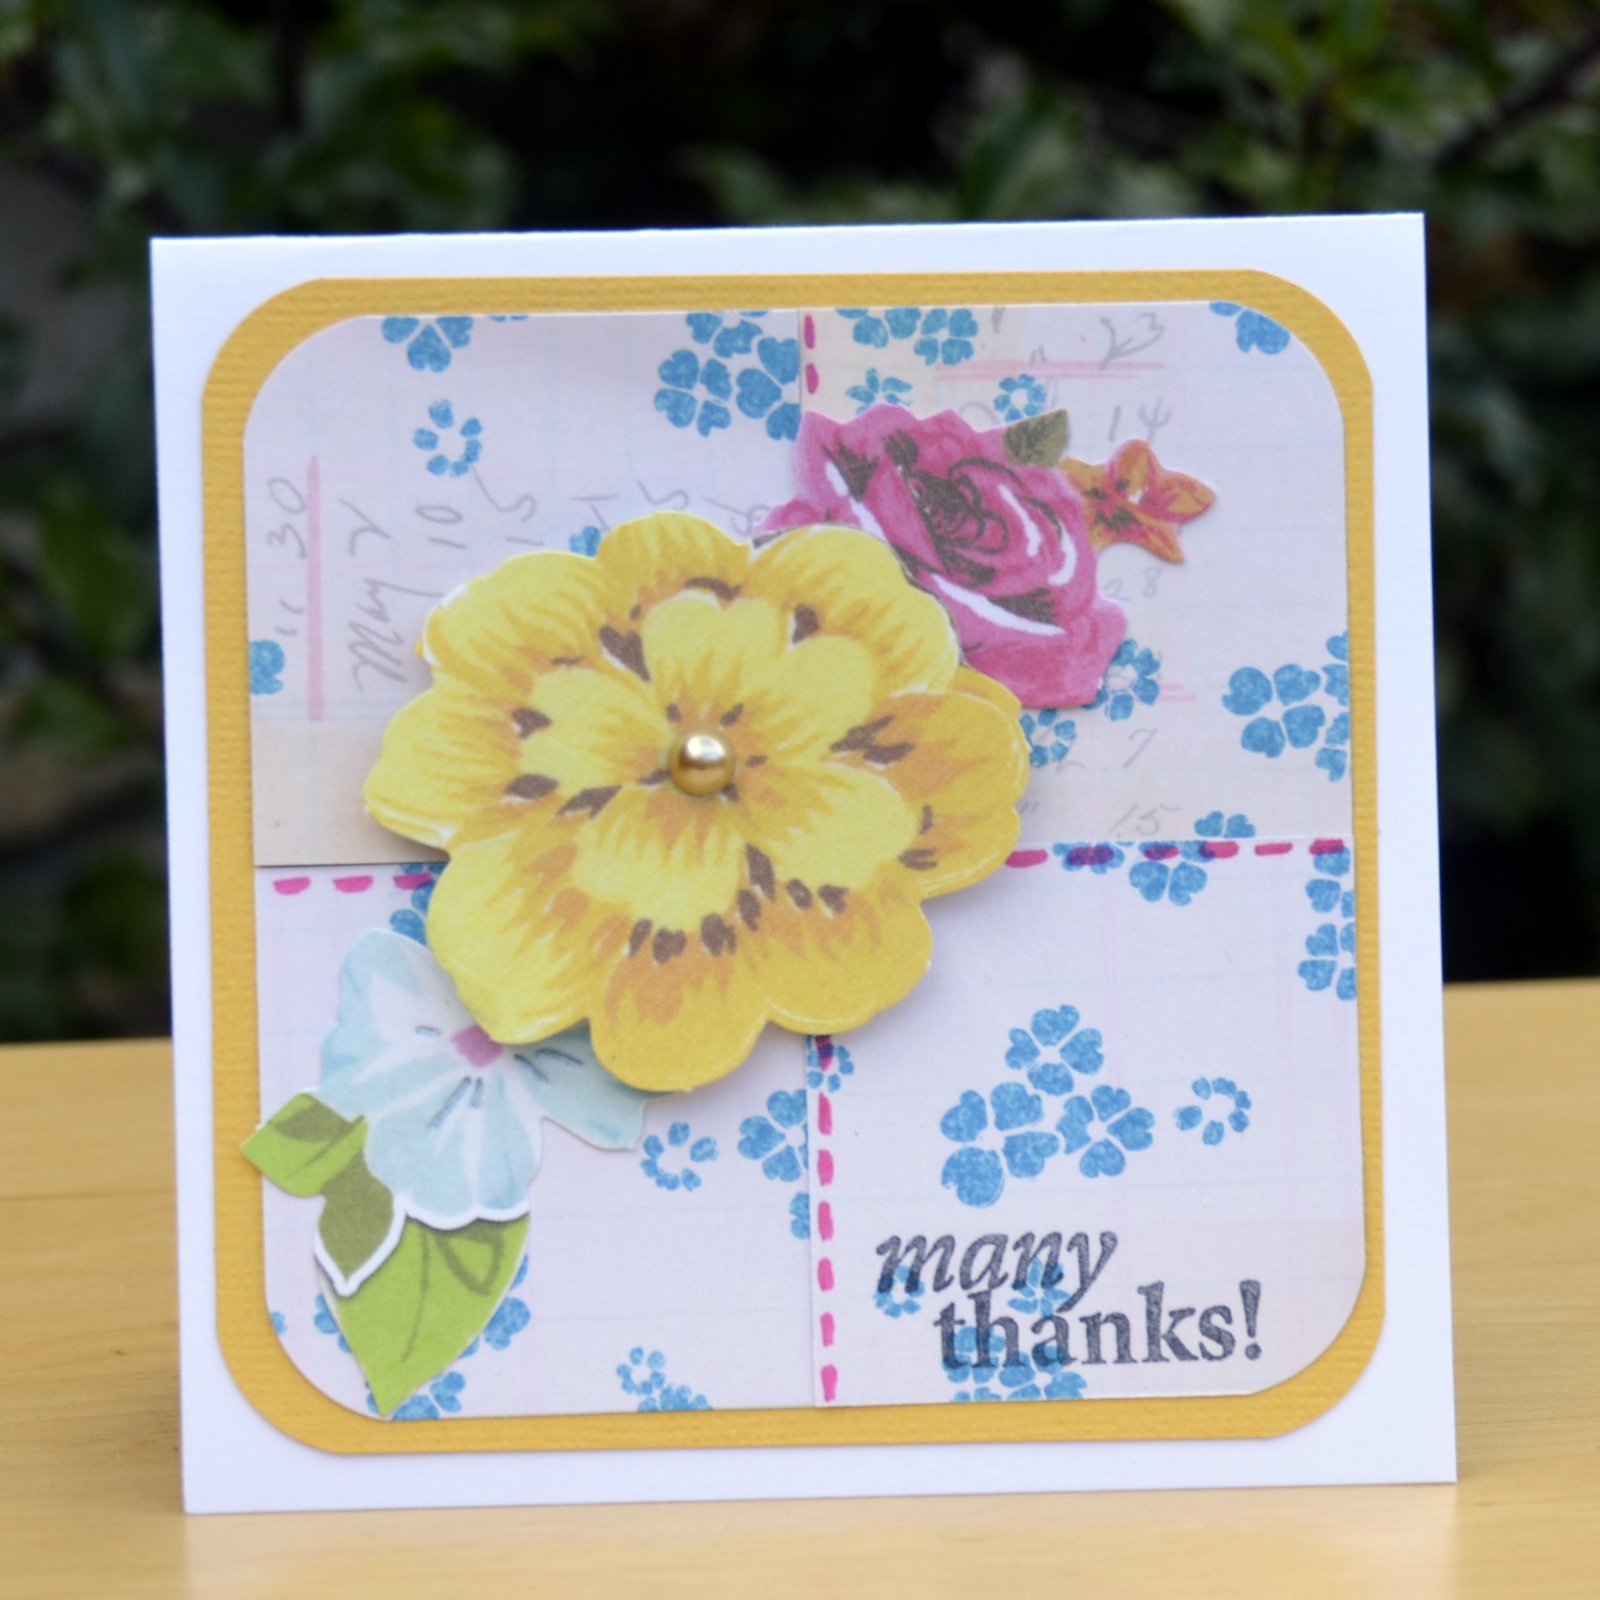
The last challenge I was able to complete asked to create a set of four thank you cards using the same supplies. I used few Sassafras Lass paper scraps that I had with the matching diecut flowers. All cards use American Crafts cardstock, rounded corners, Fiskars stamp and smooch ink for faux stitching. The design was inspired by this card from my Pinterest board.

Supplies: cardstock (American Crafts), patterned paper (Sassafras Lass), diecut flowers (Sassafras Lass), corner punch (Fiskars), stamp (Fiskars), smooch ink (Clearsnap), pearls (Want2Scrap)


Here you go - 10 cards! You can see what 10 things other bloggers shared and share your own on Shimelle's blog here.

Wednesday, October 3, 2012

Authentique September card sketch - card two


Supplies: patterned paper, tag (Authentique), border punch (Fiskars)

I made another card using the same Authentique sketch. It is a great way to use those precisions scraps that you just can't throw away. Or is it just me? This time I used the Uncommon collection. Unlike the first card that I made, I kept the original orientation and sentiment placement and only added the scallop border. The sentiment is from the diecut sheet. I cut out the triangles on the sides and matted the sentiment with a slightly bigger shape cut out from the patterned paper. Super simple and super quick.

Do you ever use the same sketch more than once?

Monday, October 1, 2012

Scrap It Girl - October challenge


New month and new challenge at Scrap It Girl! This month's theme is buttons - you need to use at least 12 buttons in your project. I have to admit that I am not a huge fan of buttons. Sure I used then here or there but they are not on my list of favorite scrapbooking supplies. Remember those big bags of Foof-a-la buttons? I bought a bag of pink buttons years ago and I still have more than plenty left.

This layout started with pink buttons. I made the button flower first, actually I made several but only one made it's way on the layout. After that I went though my 2001 storage album and found a picture to scrap. Looking at the picture I decided that it will work great with the leftovers from the Jenni Bowlin September kit. So the layout was born.

Supplies: cardstock (Bazzill Basics), patterned paper (My Mind's Eye, Jillibean Soup), stamp (Jenni Bowlin), buttons (Autumn Leaves), liquid adhesive (Close To My Heart), twine (Making Memories), word stickers (My Mind's Eye), cupcake sticker (Heidi Grace), fabric paper (unknown), smooch ink (Clearsnap), border punch (Fiskars), markers (Faber-Castell)

I stamped an exclusive stamp from the kit on Jillibean Soup paper and on white watercolor paper with Faber Castell big brush markers. The peach colored twine is from Making Memories.

 
The small buttons in the button flower are covered with Liquid Glass from CTMH. It gives them a dimensional look and helps to hold them together. The cute baby image is cut out of the fabric paper that I had forever in my stash. I even can't remember the manufacturer. I added a little smooch ink to the tiny flowers on the fabric.

No it's your turn. It should be easy! You can submit two projects for this challenge. Don't forget to link back to the Scrap It Girl site! If you need a little extra help to get motivated you can check this awesome prize that Dawn from Scrap It Girl Design Team put together:

I know it would motivate me ;-)